GitHub and RStudio
February 10, 2018 // 6 min read

This tutorial teaches you to create R Markdown documents with RStudio and publish them via GitHub, using GitHub Pages.
RStudio is a popular integrated development environment for R. It integrates the tools you use with R into a single environment. GitHub Pages allows you to host websites directly from your GitHub repository.
In this tutorial, you will learn how to:
- Create a new repository.
- Work with your repository on your local machine using Git and RStudio.
- Use the GitHub.com website or GitHub Enterprise to complete the GitHub workflow.
- Publish and share your R Markdown documents using GitHub Pages.
Prerequisites
- For this tutorial you will need an account on GitHub.com or GitHub Enterprise.
- If you are new to Git, GitHub and GitHub Pages it is recommended to complete the GitHub Pages from the command-line course first.
- Some programming knowledge with R will be helpful but is not required.
Install Git and RStudio
For this tutorial you will use Git and RStudio to work with your GitHub repository.
Create the remote repository on GitHub
Now that you have what you need installed locally, let’s create the repository that will hold your new website.
- On GitHub.com, create a new repository.
Note: if your organization uses GitHub Enterprise you can also create the repository there.
- Name your repository
cars. You can use a different name. - Enter a description for your repository.
- Choose Public visibility.
- Select Initialize this repository with a README.
- Click Add
.ignoreand selectR. - Click Create repository.
Clone the repository with RStudio
After you’ve created a repository on GitHub (the remote repository), the next step is to clone it to your local environment.
- On GitHub, navigate to the Code tab of the repository.
- On the right side of the screen, click
Clone or download. - Click the
Copy to clipboardicon to the right of the repository URL. - Open RStudio on your local environment.
- Click
File,New Project,Version Control,Git. - Paste the repository URL and enter TAB to move to the
Project directory namefield. - Click
Create Project.
Create an R Markdown document in RStudio
Now that you have a local copy of the repository, let’s add an R Markdown document to your project.
- In RStudio click
File,New File,R Markdown. - Choose HTML output as default output.
- Click
File,Saveto save the document. - Enter
speed-and-distanceand clickSave.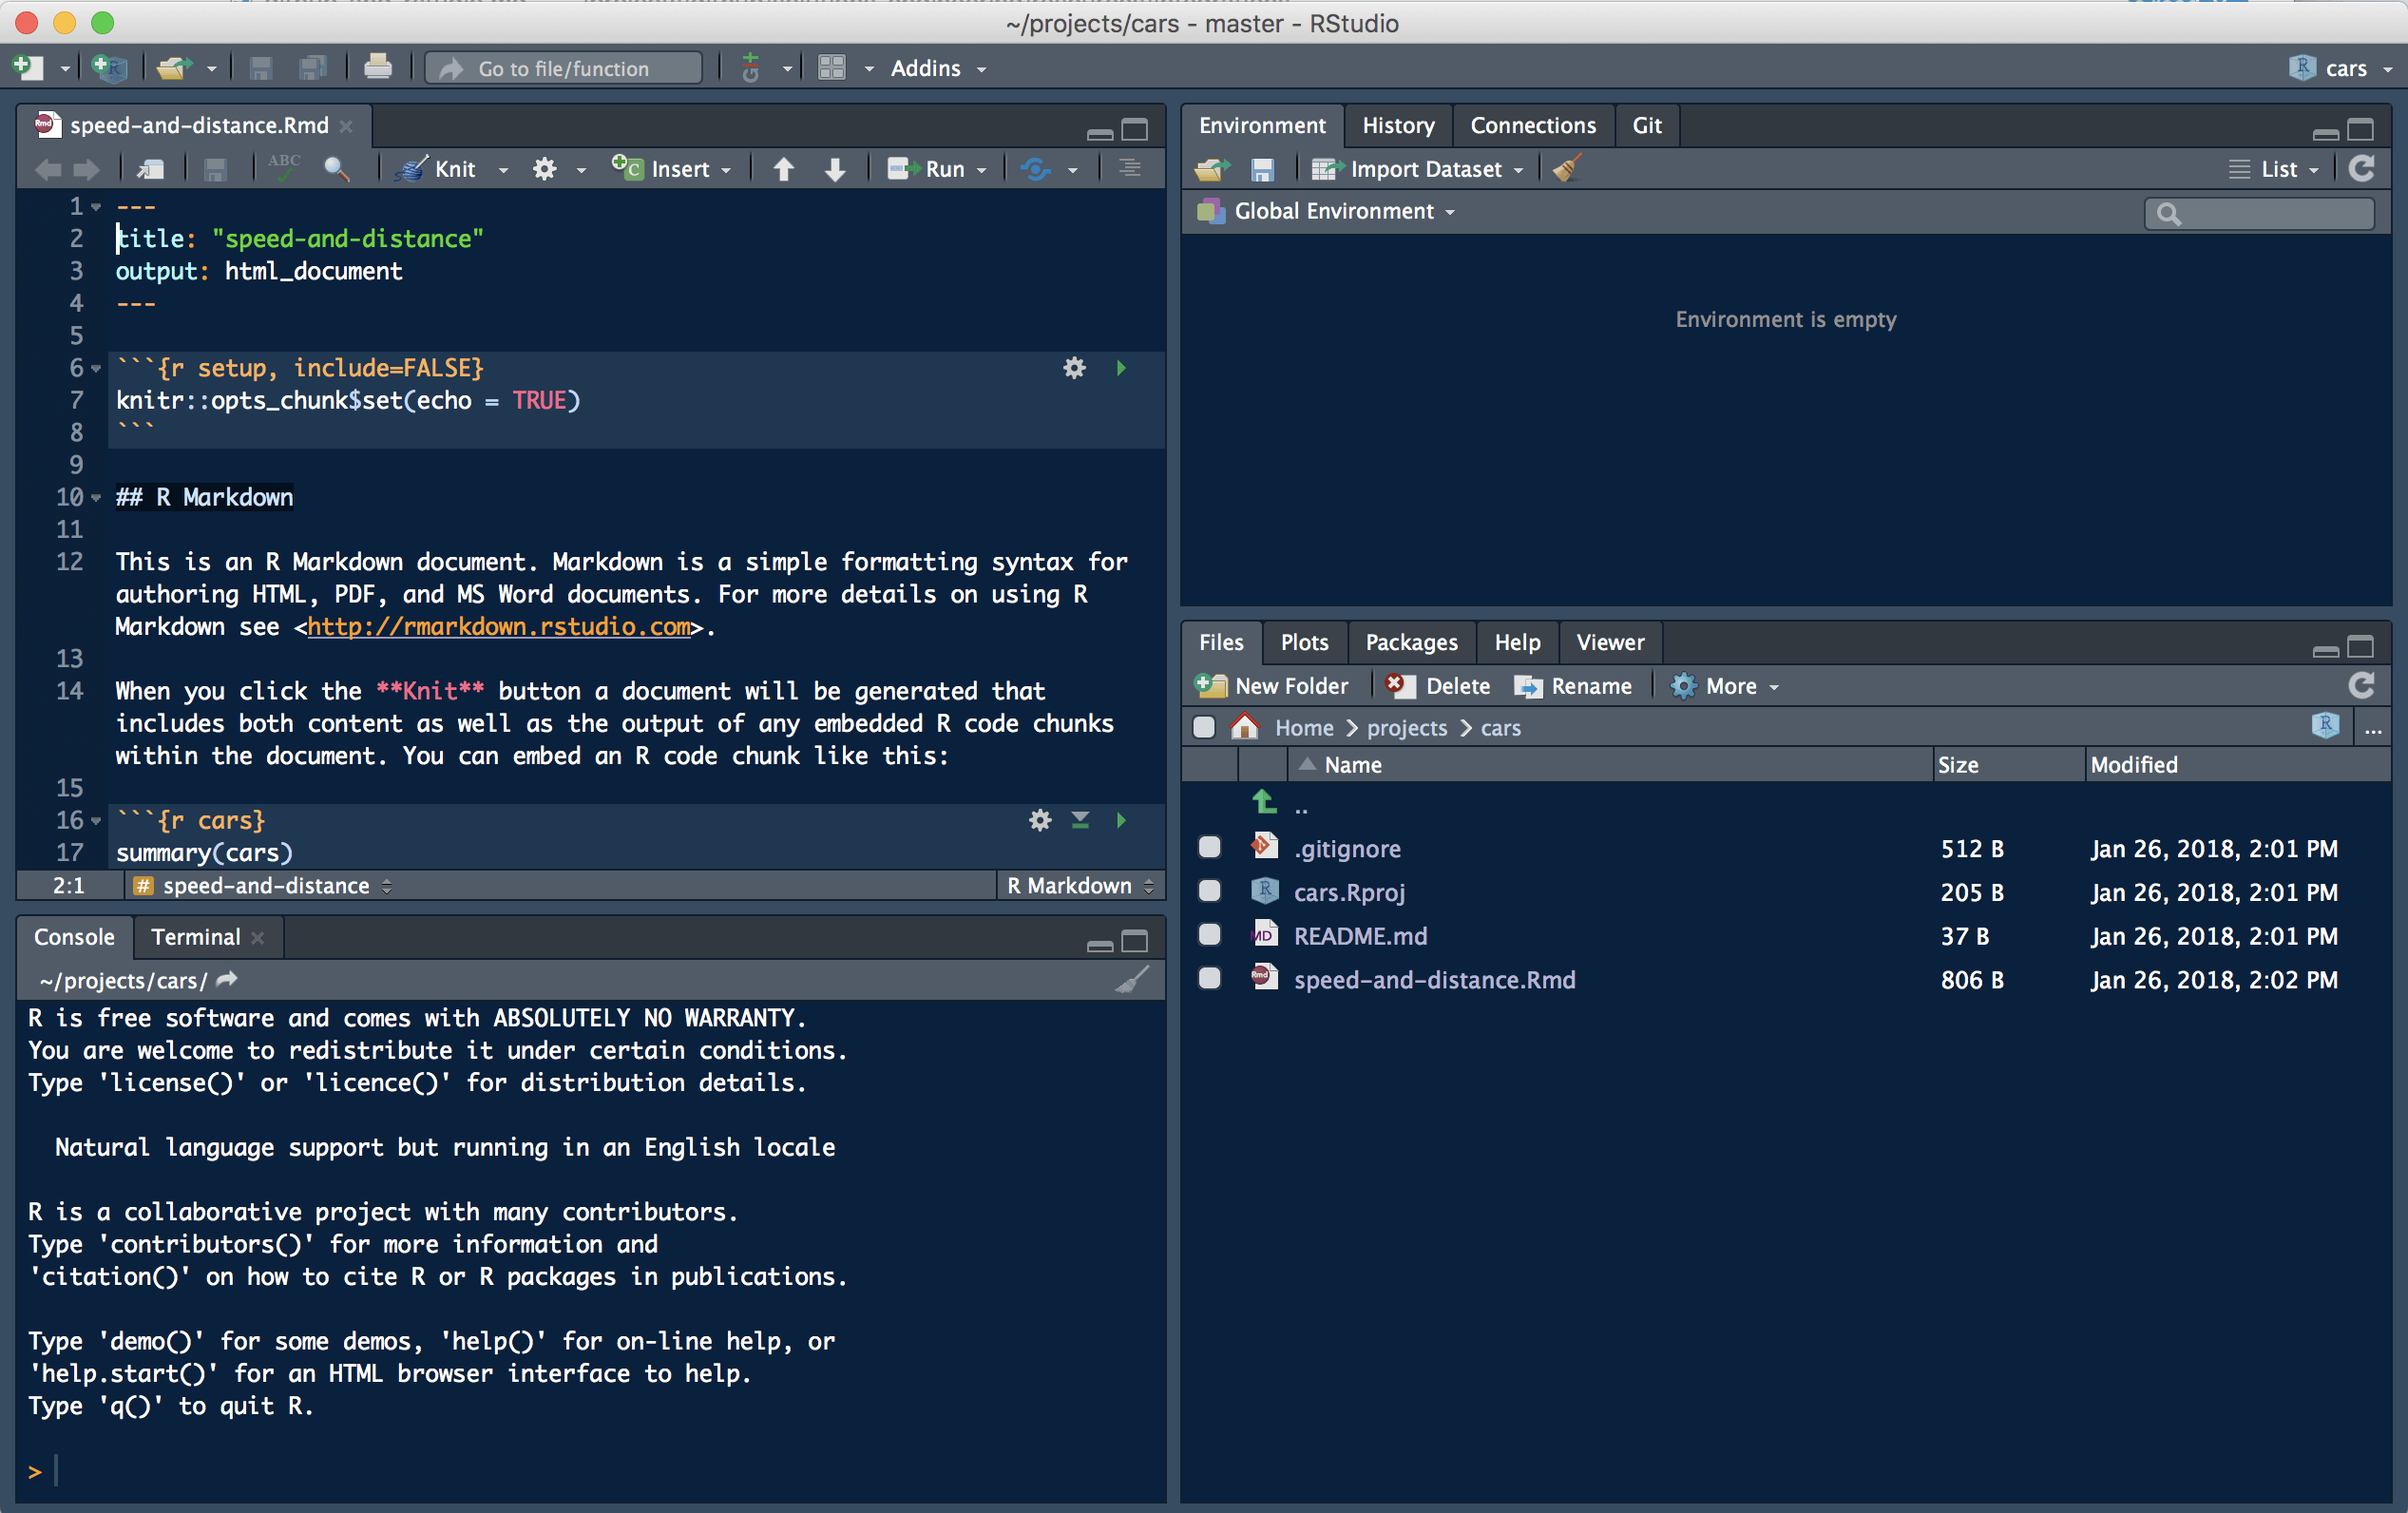
Commit and push the changes to GitHub
After you have created the R Markdown document and finished making your changes, it is time to commit them.
- In RStudio click the
Gittab in the upper right pane. - Click
Commit. - In the
Review changesview, check the staged box for all files. - Add a commit message, for example
Add initial speed and distance report. - Click
Commit. - Click the
Pullbutton to fetch any remote changes. - Click the
Pushbutton to push your changes to the remote repository. - On GitHub, navigate to the Code tab of the repository to see the changes.
Create local branches with Git
Let’s make a couple of more changes in your project using the steps of GitHub Flow. As RStudio currently does not support local branches very well, we will use Git from the command-line in RStudio.
- In RStudio click the
Terminaltab in the lower left pane. The Terminal tab is next to the Console tab.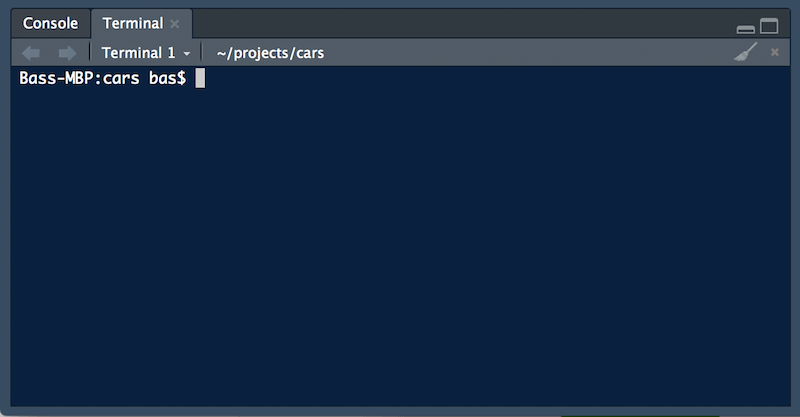
Note: if you cannot find the Terminal tab, check if you use RStudio version 1.1.383 or higher. Click Help, About RStudio to check the current version.
Create a new branch. Replace
<BRANCH-NAME>with a descriptive name, for examplespeed-and-distance-report:git branch <BRANCH-NAME>Check your repository’s status:
git statusNotice that although you created a new branch, you are still checked out to master, as indicated by the in-line response from Git.
Check out to your new branch:
git checkout <BRANCH-NAME>Verify that you are now checked out to your new branch:
git status
Make local changes with Git
Let's generate the HTML output in a separate directory called docs. To do this we add a function in the heading of the R Markdown document to 'knit' the output in the desired output directory.
- In RStudio open
speed-and-distance.Rmdand add the following lines in the heading under thetitlefield:
  knit: (function(input_file, encoding) {
    out_dir <- 'docs';
    rmarkdown::render(input_file,
      encoding=encoding,
      output_file=file.path(dirname(input_file), out_dir, 'index.html'))})
- Click
File,Saveto save the changes. - Click
Knitin the document pane forspeed-and-distance.Rmd.
Commit local changes with Git
After you have created the HTML output, it is time to commit the changes.
Determine your file’s status. Remember that
git statusallows us to see the status of the files on our branch at any given time. Your file is listed under the headingUntracked files:git statusAdd your file to the staging area so it’s prepared to become part of the next commit:
git add .See your file’s current status. Your file is now listed under the heading
Changes to be committed. This tells us that the file is in the staging area. It also indicates this is a new file:git statusCommit your file. Replace
<COMMIT-MESSAGE>with a log message describing the changes, for exampleKnit output to a docs folder. A commit tells Git to collect all of the files in the staging area and store them to version control as a single unit of work:git commit -m "<COMMIT-MESSAGE>"See the history of commits:
git log --onelineSee the changes between the master branch and the current branch (HEAD):
git diff --stat --summary master..<BRANCH-NAME>
Open a pull request on GitHub
Now that you have made some local commits, it is time to send your changes to the remote copy of your repository on GitHub and create a Pull Request.
Push the changes to the remote repository:
git push -u origin <BRANCH-NAME>Create a Pull Request on GitHub.
Fill out the body of the Pull Request with information about the changes you’re introducing.
Merge your pull request on GitHub
Since this is your repository, you probably don’t have anyone to collaborate with (yet). Go ahead and merge your Pull Request now.
- On GitHub, navigate to the Pull Request that you just opened.
- Scroll down and click the big green
Merge Pull Requestbutton. - Click Confirm Merge.
- Delete the branch
<BRANCH-NAME>.
Create the pages site
This tutorial is going to use GitHub Pages to publish the HTML output. To initialize GitHub Pages we need to perform a few more steps:
- In your repository, click the Settings tab.
- Scroll down to the GitHub Pages section.
- Under
Source, selectmaster branch /docs folder.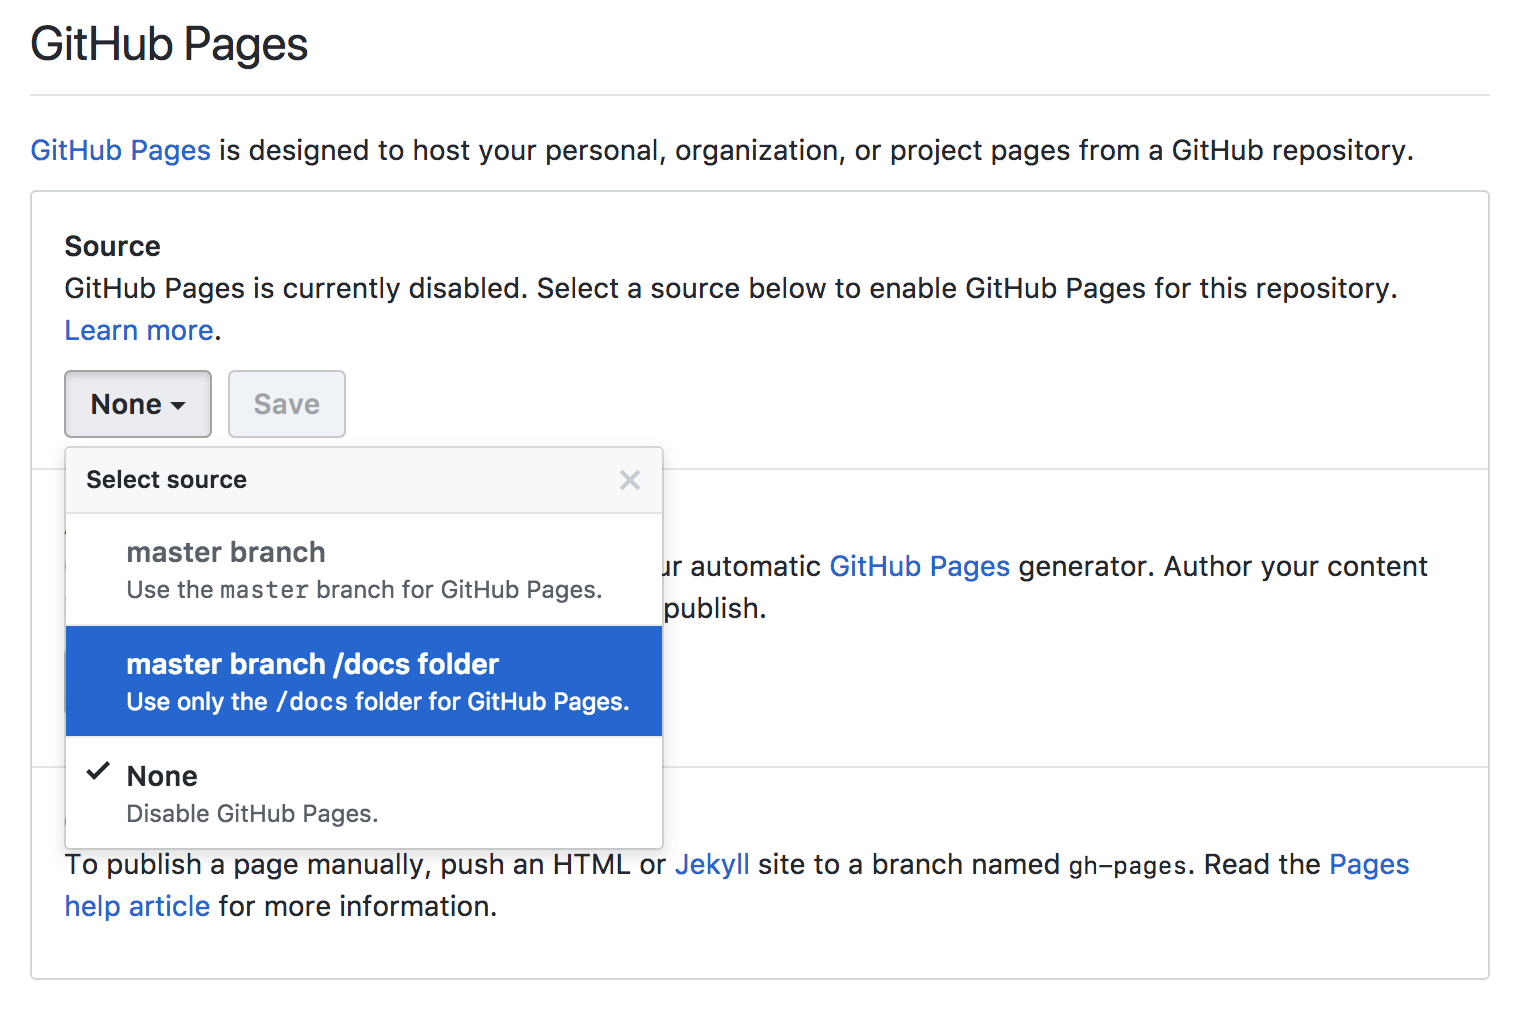
- Click
Saveto save the changes. - Click the generated GitHub Pages URL to view the rendered R Markdown document.
Note: GitHub Pages sites are always public when hosted on GitHub.com. If you want to share a site with a select number of people you can use Jekyll Auth. On GitHub Enterprise users need to authenticate to access GitHub Pages sites when private mode is enabled.
Update local repository
After you merge your Pull Request, you will need to update your local copy of the repository.
In the RStudio Terminal pane, type:
git checkout masterType:
git pullDelete the local branch :
git branch -D <BRANCH-NAME>See the history of your commits in a graph:
git log --oneline --graph --all
You can also view the history of your commits in RStudio. Click Commit in the Git pane to open the Review Changes panel and then click History.
Add welcome page, theme and navigation
Let's add a welcome page, theme and navigation to allow you to publish a collection of R Markdown documents.
First create a new branch. Again replace
<BRANCH-NAME>with a descriptive name, for exampleadd-theme-and-navbar:git checkout -b <BRANCH-NAME>Add a file
_site.ymlwith the following contents:
  name: "cars"
  output_dir: "docs"
  navbar:
    title: "Cars"
    left:
    - text: "Home"
        href: index.html
    - text: "Speed and Distance"
        href: speed-and-distance.html
  output:
    html_document:
      theme: cosmo
Add a new R Markdown document
index.Rmd. This is your welcome page.Open
speed-and-distance.Rmdand remove theknitandoutputfields from the heading. The heading will now look like this:
  ---
  title: "Speed and Distance"
  ---
Save the changes.
Open the
Consolein the left bottom pane and render the site using the following command:
rmarkdown::render_site()
- Commit the local changes with Git:
  git status
  git add .
  git commit -m "Add home page, navigation and theme"
Open a pull request
Now that you have added the home page and navigation, it is time to send your changes to the remote copy of your repository on GitHub and open a new pull request.
Push the changes to the remote repository:
git push -u origin <BRANCH-NAME>Open a Pull Request on GitHub.
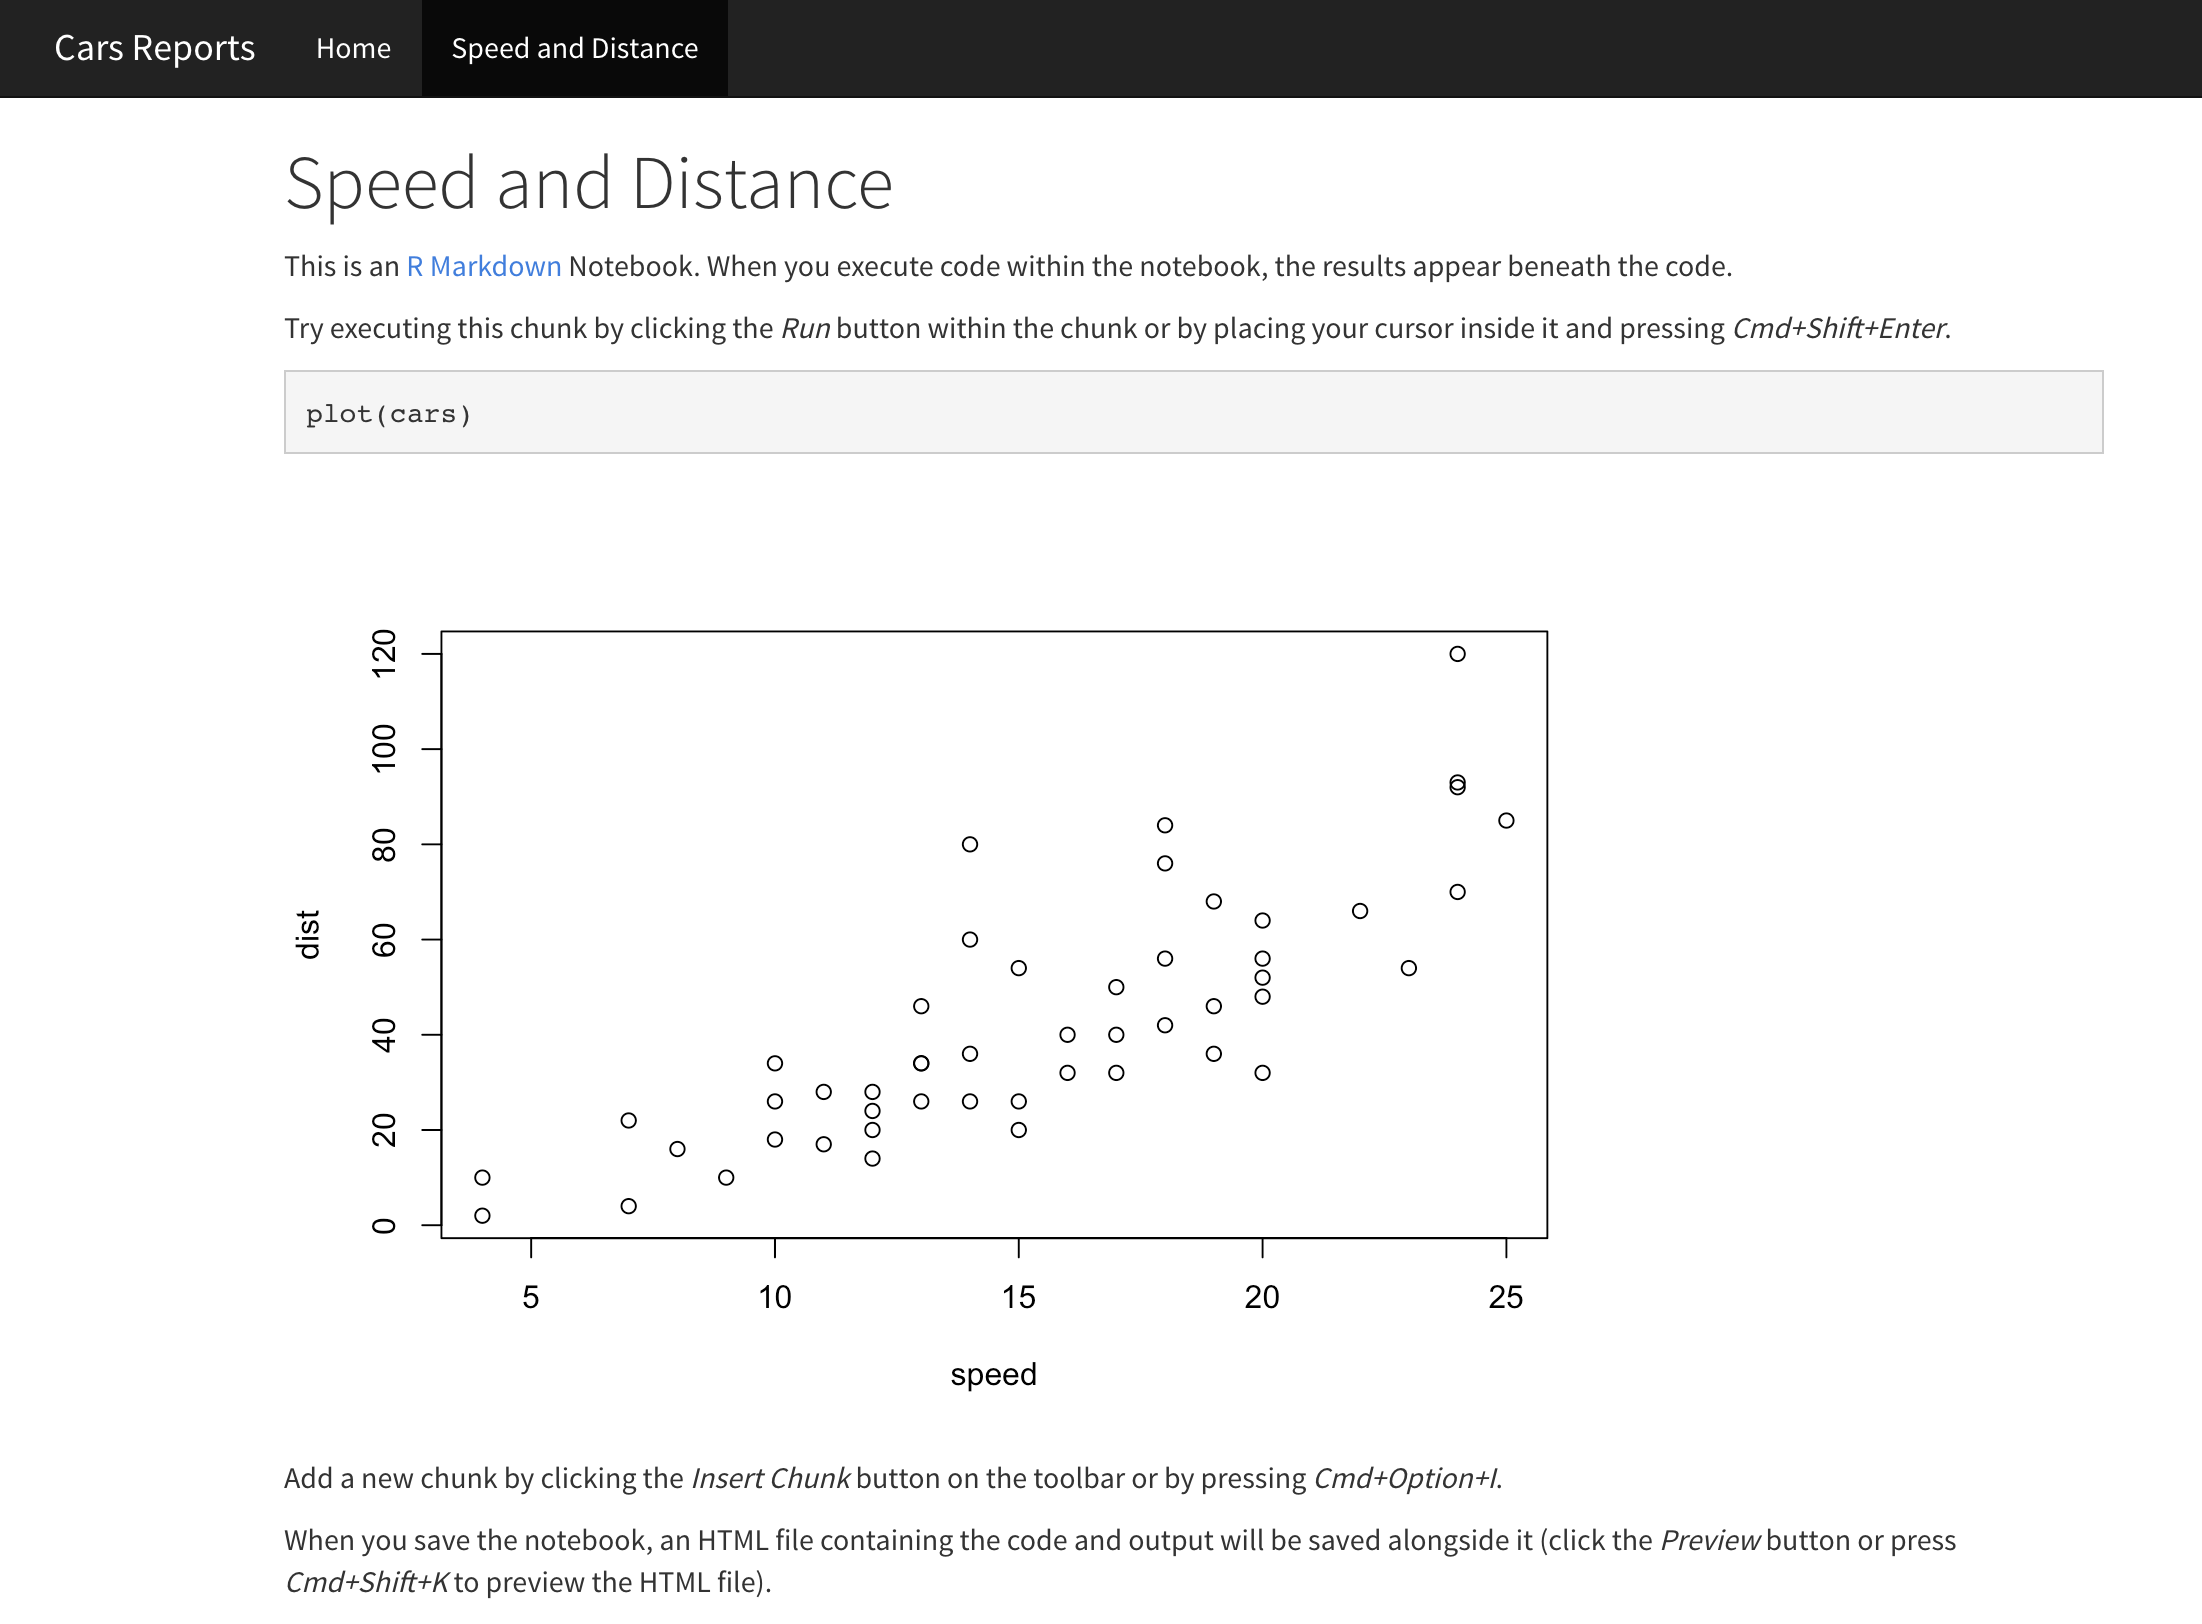
Go ahead and merge your Pull Request.
View your updated site. The site should look similar to this image.
Add the GitHub Pages URL to the repository description to make it easier to discover.
If you can't remember the GitHub Pages URL you can always visit the URL in the GitHub Pages section on the settings page.
Congratulations! 🎉
You have completed the GitHub workflow with RStudio and added a GitHub Pages site to your project to publish your rendered R Markdown documents.
Links
- The R Markdown Websites article on the R Markdown website is a good resource to build GitHub Pages websites that host collections of R Markdown documents.
- Use GitHub Desktop if you prefer to use a graphical user interface rather than typing Git commands in the terminal when working with branches in RStudio.
Tags